Overview
Mail list owners can control the post behavior with these settings.
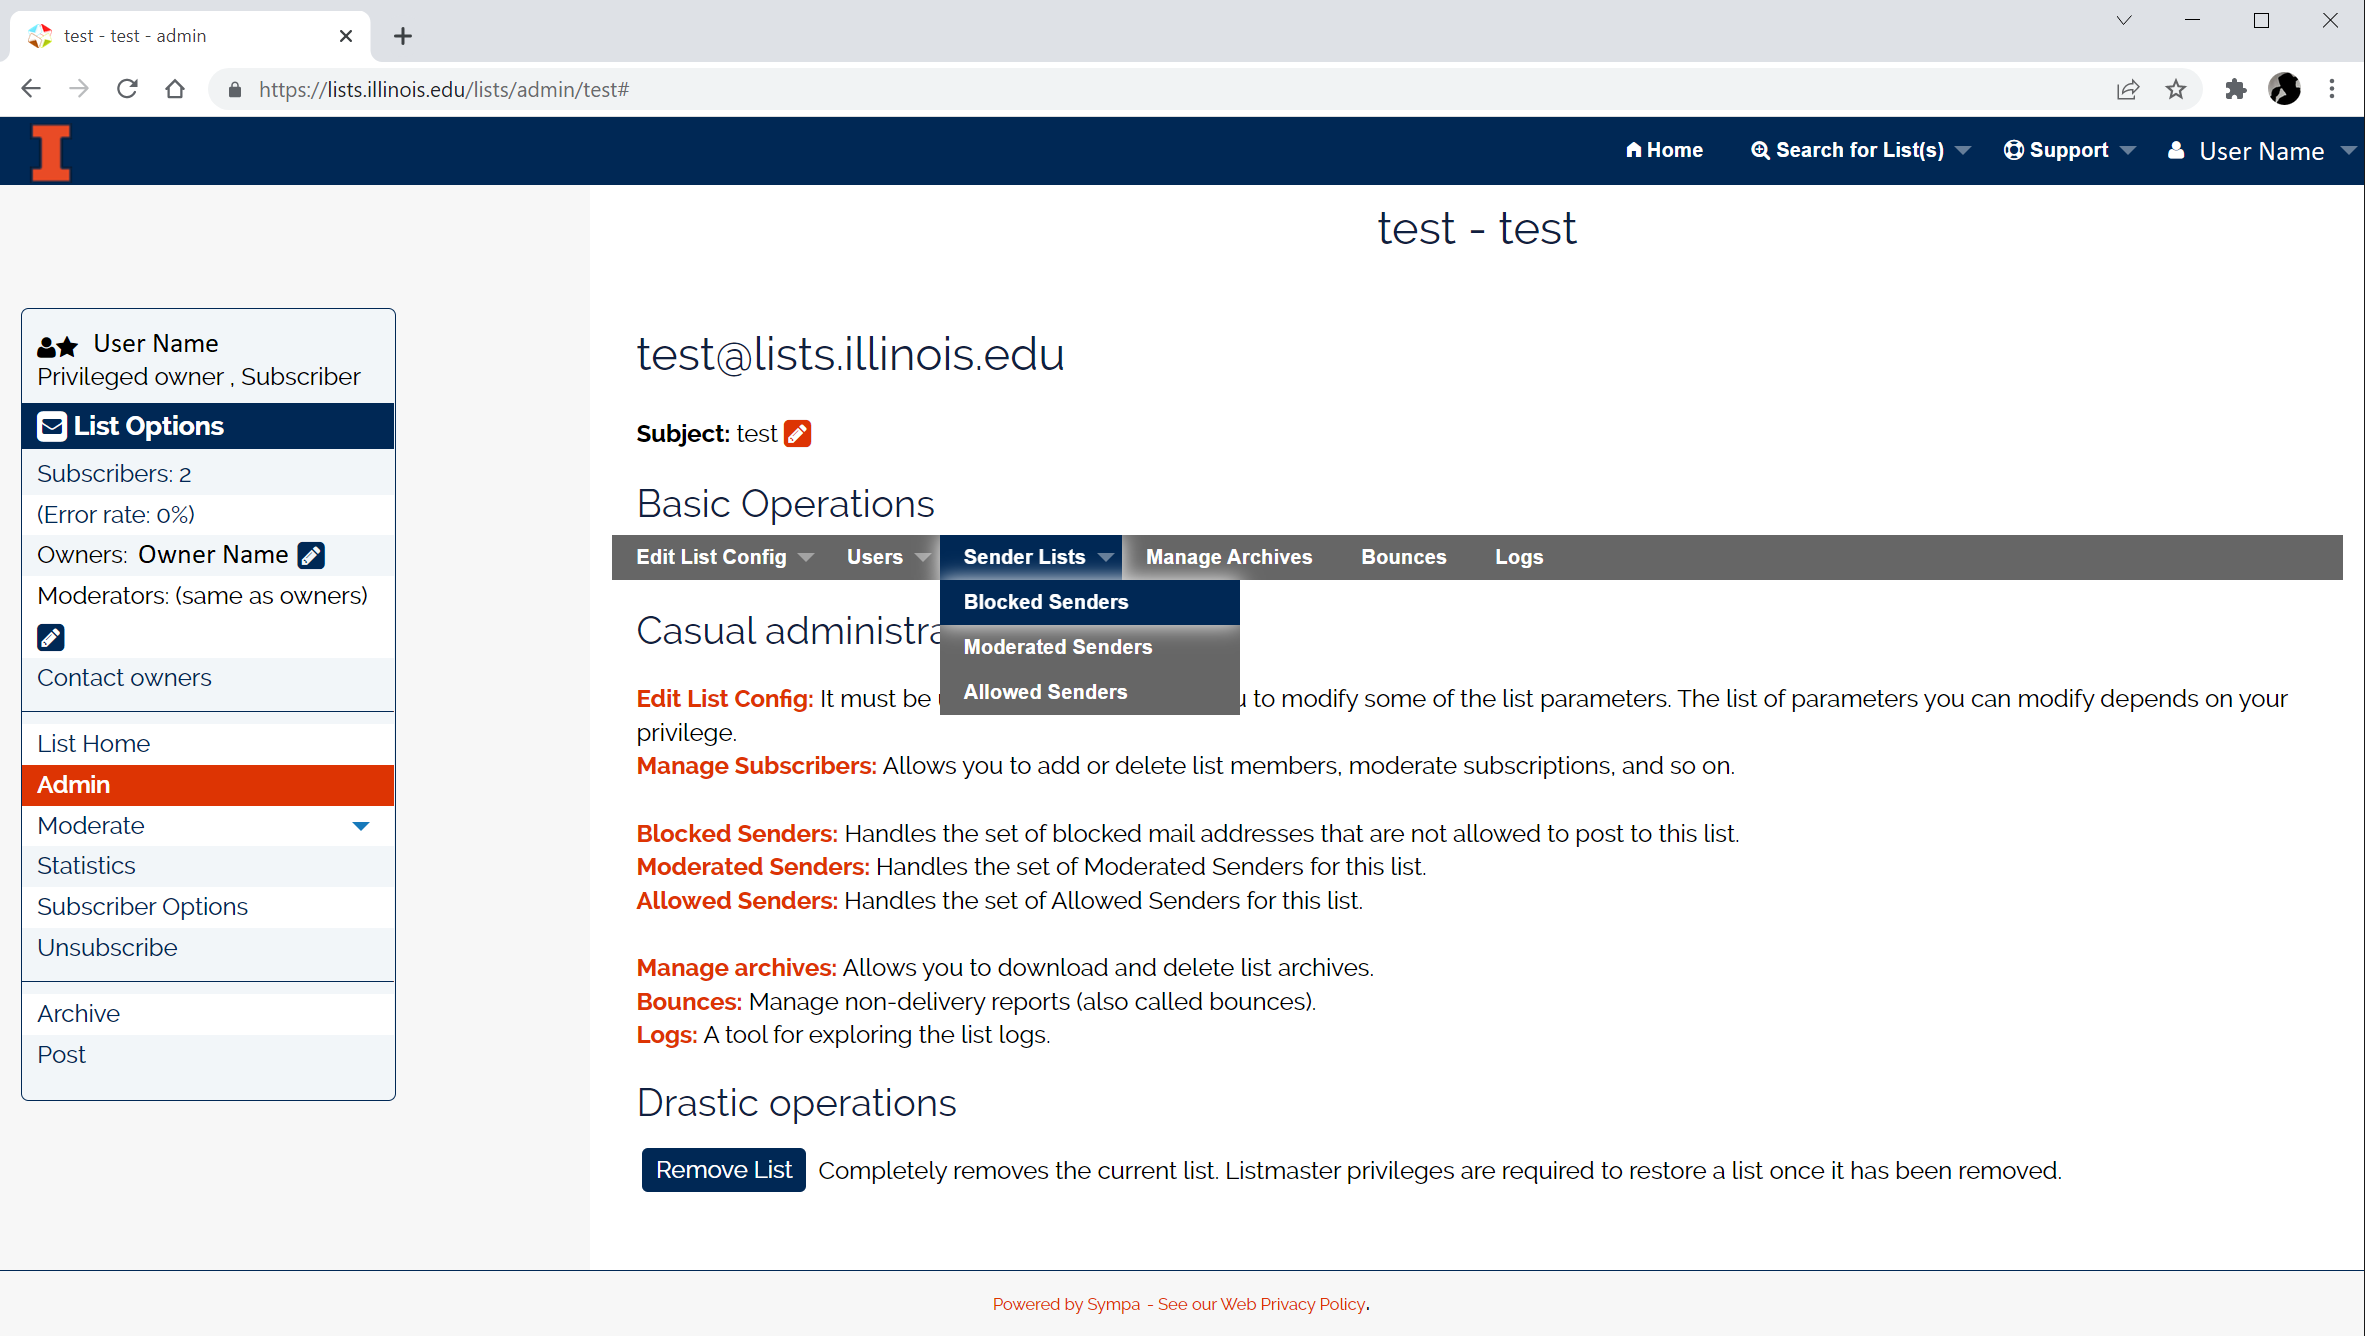
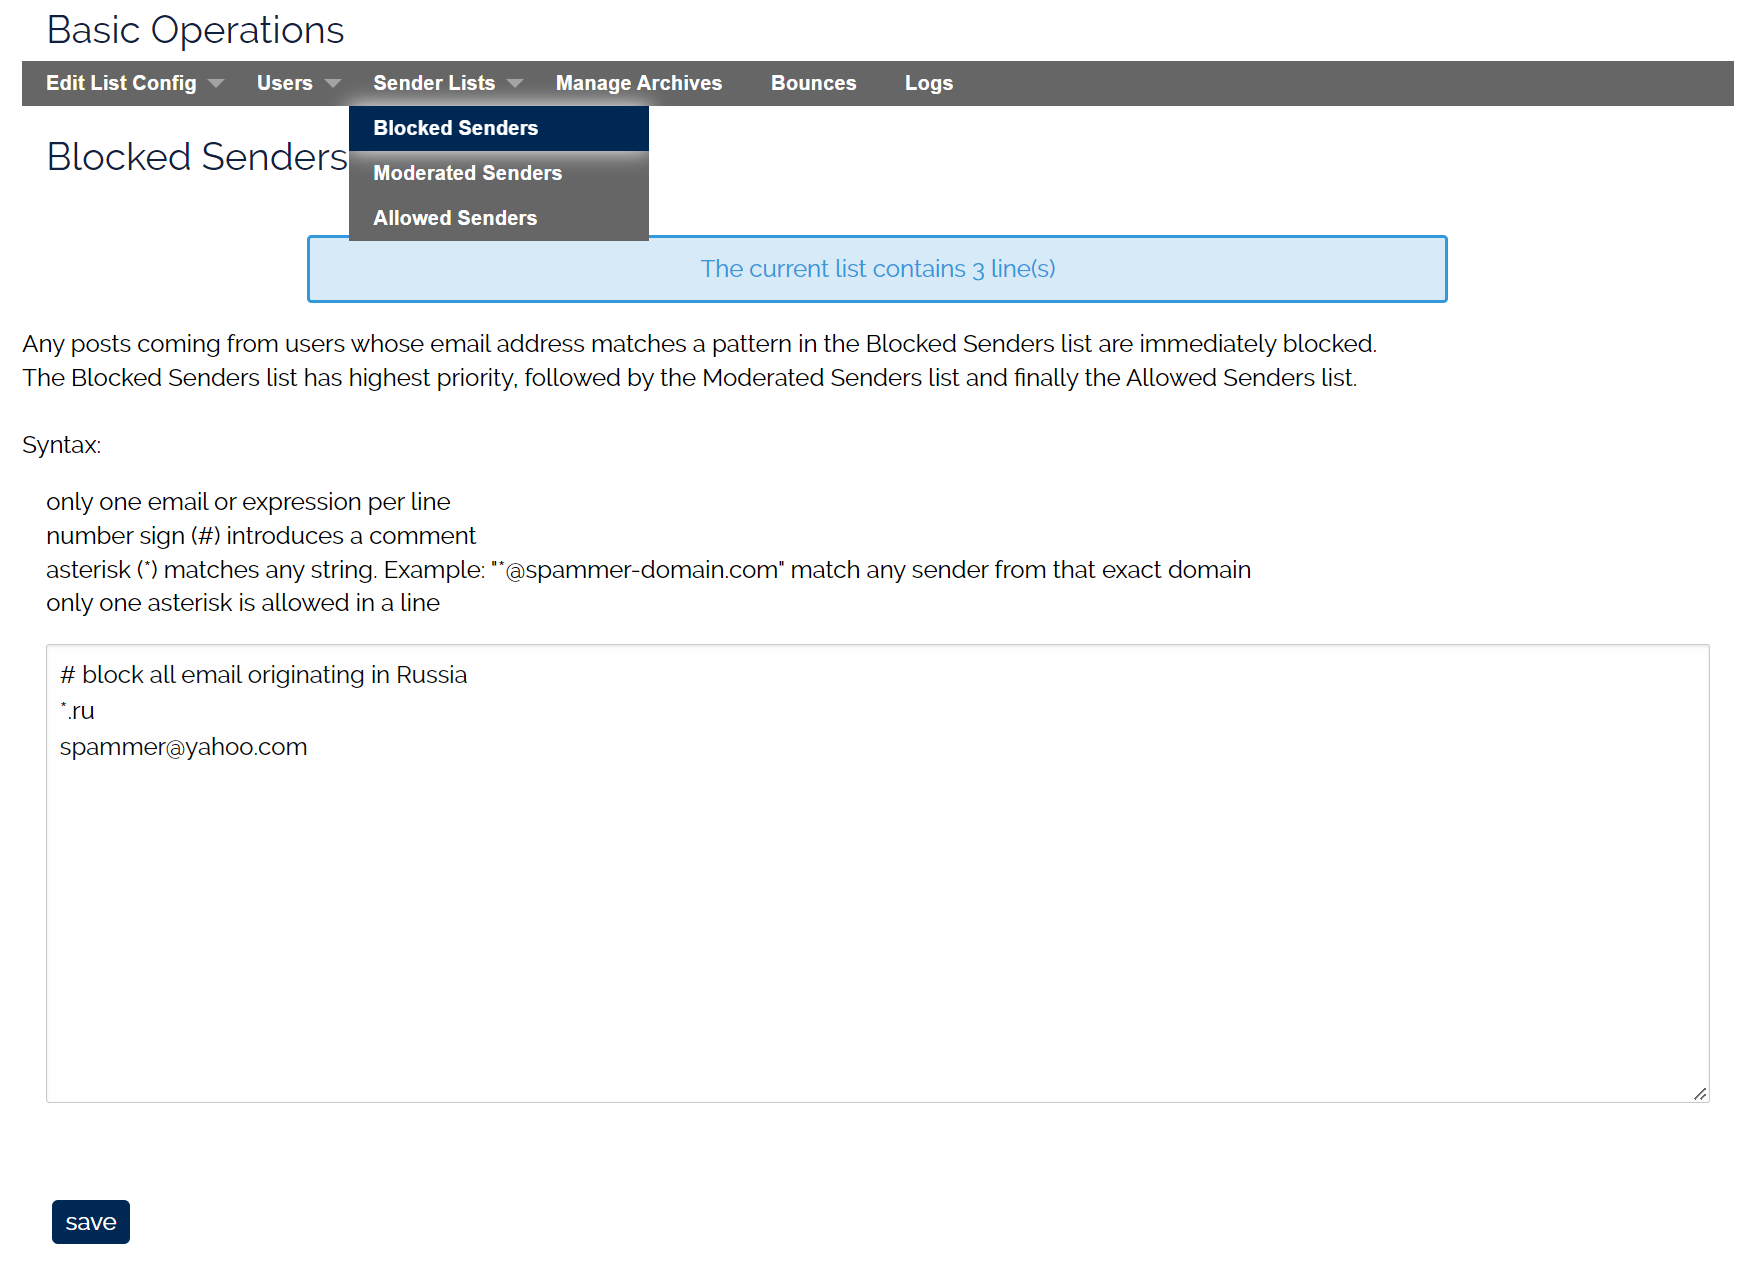
- Blocked Senders: Email from these email addresses are automatically rejected. The block list is used to exclude individuals or domains from posting to your mail list.
- Moderated Senders: Email from these users are automatically queued for moderation and a notification is sent the person(s) who is listed as the moderator. If no moderators are defined then the owner becomes the moderator.
- Allowed Senders: Email from these users are automatically accepted and sent to the mail list subscribers.
Email Entry Rules
These settings are the same for each list type. Click on the appropriate list and follow the syntax rules:
- Only one email or expression per line.
- The # character designates a comment line.
- The * character is a wild card and matches any string.
- *@spammer-domain.com = match any sender from the “spammer-domain.com” domain.
- only one * character is permitted per line.
- Do not use vertical bar, square brackets, or angle brackets in the pattern.
- Enter the domains or addresses you want to add to the list
- Click Save to update the list.
Blocklist Example:
Allow List Alternative – Editing the ‘Who can send messages’
While adding email addresses to a mail list’s Allowed Senders list (Admin > Sender Lists > Allowed Senders) will let those email addresses to post to a list, it does not scale well when managing multiple mail lists. For example, Prof X has multiple mail list for their classes and they want themselves and assistants to post to all of their class lists. Using the ‘Allow Senders’ approach, the list owner would need to add email addresses to each class mail list ‘Allow senders’ setting. Another approach is to give another list the permission to post to the class lists using the ‘Who can send messages’ scenario, Admin > Edit List Config > Sending/receiving setup – Who can send messages. In this case, the list owner would create a template for their class list(s) and another list for the safe senders.
How does this help me?
- This approach approach scales well for multiple lists
- It creates a personalized template for Prof X’s classes, projects, etc….
- It allows the management of the safe-senders from one source, the Prof-X-Safe-Senders list members.
Example usage:

- Create a list, e.g. safe-senders
- Configure that list to sync with your ldap group
- Edit the ‘who can send’ scenario to include the ‘safe-senders’ mail list.
- Example Scenario
- title.gettext Restricted to Subscribers and safe-senders list members
- is_subscriber(‘safe-senders’,[sender]) smtp,dkim,smime,md5 -> do_it
- is_subscriber([listname],[sender]) smtp,dkim,smime,md5 -> do_it
- is_editor([listname],[sender]) smtp,dkim,smime,md5 -> do_it
- is_owner([listname],[sender]) smtp,dkim,smime,md5 -> do_it
- true() smtp,dkim,md5,smime -> reject,quiet
- save the scenario with a unique name
- send.Subscribers-And-safe-sender-list
Use the web UI to edit the ‘Who can send’ scenario will save it for the list only
- list only > /etc/list_data/robot-name/list-name/scenari b. To make the scenario available to a robot or entire server then ssh to the server and copy the file, send.Subscribers-And-safe-sender-list,
to:
- robot only > /etc/sympa/robot-name/scenari
- entire server (all robots) > /etc/sympa/scenari
To initiate this alternative approach send email to consult@illinois.edu to open a ticket and the mail list server admins will assist. It will take an admin with Listmaster permissions to modify the ‘who can send messages’ scenario.